
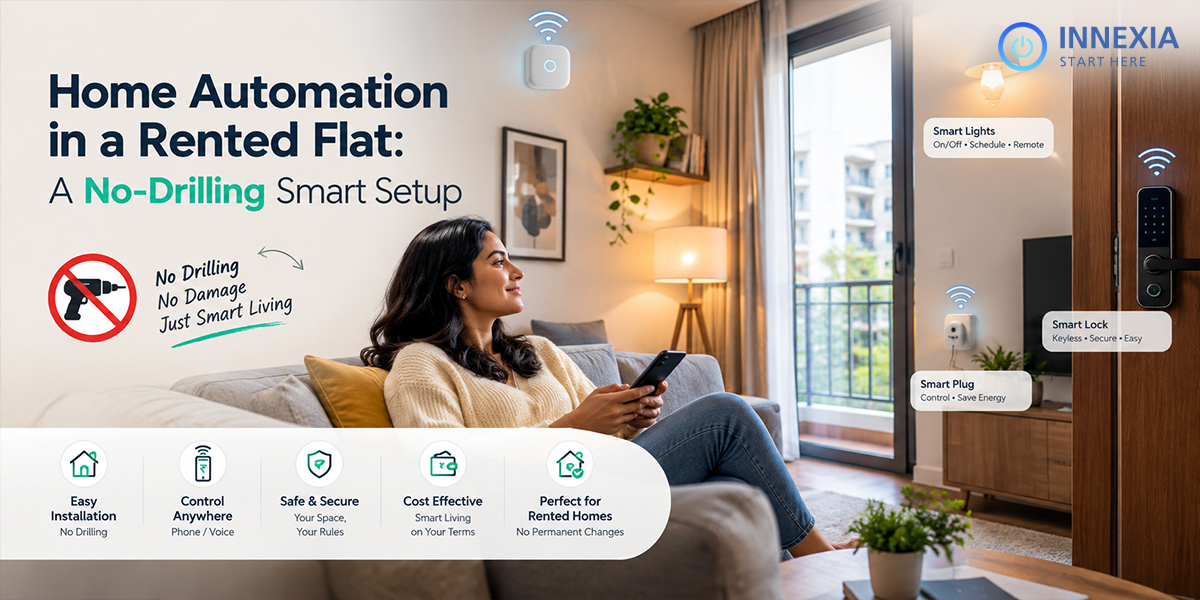
Rental apartments will have their own switches, fixtures and rules regarding modifications. You may require lights that will work based on your sleep schedule or even an AC unit that can be controlled via your smartphone, but wall holes and rewiring of the electricity system might not be allowed.
Setting up your home automation system in a rental apartment becomes an easy job when you pick out the right portable system. Smart bulbs, appropriate plug-in controls, battery-powered sensors and tabletop devices can help automate your home without making any physical modifications.
The trick is to pick up products that would suit your current fixtures, rental agreement and lifestyle. This guide will help you set up your smart home system in the rental apartment and give information about what to consider before purchasing a product.
What Counts as No-Drilling Home Automation?
No drilling is possible using existing sockets, bulb sockets, tables or other furniture that can support this system or removable mounting elements. Ideally, the system will come off without breaking open a switchboard, damaging a door or altering the premises in any way.
Not all wireless home automation technology installation is necessarily an easy task. The relay can be wireless but at the same time use electrical connection behind the switchboard. Also, wireless camera might require some screws because of the nature of the mounting system.
When considering a truly portable system, there are three questions to be answered: Does it require electrical installation? Is it possible for it to be installed firmly without mounting? Can the initial condition be easily restored?
Make sure to check out the terms before installing something into the property. Pay special attention to door hardware, common areas and exterior fixtures, even if the device claims to be renter-friendly.
Plan Around Your Flat Before Buying Devices
Think of two or three challenges that you would like to address – turning the bedside light switch off, operating an already remotely operated AC, or getting alerts when someone opens the door.
Take a walk around your flat and consider locations of sockets, Wi-Fi availability, light fixtures, and other spots where your devices might be positioned safely. If you live in India, see what type of lamp fixture you have – B22, E27, or something else—since not all LED light fixtures are compatible with different bulbs.
It is also important to think about who will operate your home automation solutions. In a rented flat, controls need to be understandable for your roommates without depending on your mobile phone. Manual controls and usual remotes must still be easily accessible.
Consider choosing one control platform whenever possible. Make sure you buy products that are compatible with your specific device model (also remember about hub, subscription, or separate controller).
Choose Renter-Friendly Home Automation Devices
Smart Bulbs for Flexible Lighting
Smart bulbs can provide control by an application, scheduling and brightness adjustment in a suitable existing light fitting. The first item to use is a table lamp as it is easily accessible and yours.
Take into account the bulb base, size, brightness and fixture limitations. Do not use a smart bulb in conjunction with an existing dimmer if it is not supported by the manufacturer.
Label your existing bulb for when you move out. Smart bulbs require electricity; switching off the wall switch would mean switching off the bulb from your application.
Smart Plugs for Suitable Appliances
The smart plug regulates the power fed to the connected appliance. It does not provide all the functions of that appliance’s remote control or the control panel of that appliance.
Suitable lamps with manual switches can be the easiest use case. The appliance with electronic on/off button will stay in sleep mode if the power comes back on, so you should see how that appliance works.
Match the plug to the local socket, supply voltage, rated current, and compatible load type. Wattage alone is not enough; some appliances like motors and compressors consume more current during the start-up process. Recommendations from the manufacturers vary by models and countries.
Do not test smart plugs on geysers, heaters, or compressor appliances first. If you are unsure about compatibility, contact the manufacturer or an electrician. Start with a suitable low-load appliance.
IR Controllers for Existing Remote-Controlled Devices
An infrared controller can control a device that also uses an infrared remote control. It requires energy and a position where the signals can be sent to the appliance.
Make sure that the controller supports the right brand, model, and commands. Infrared cannot work through the wall and Bluetooth or radio-frequency remotes may not work.
Some controllers send commands regardless of whether the appliance is in the right state. Have your existing remote at hand and try temperature, mode, and power commands before scheduling routines.
Portable Sensors and Wireless Buttons
Battery-powered motion sensors, contact sensors, and wireless buttons can help automate things without requiring permanent wiring. Depending on the particular device, the sensors can be placed either on furniture or on removable mounts.
Find out how to position your sensors correctly, align contact sensors, change batteries and connect to hubs. For example, a button placed next to your bed may be more convenient than voice commands when you are asleep.
Use sensors for your convenience and security. A door notification is good but cannot replace a physical lock and proper security system.
Mount Devices Without Assuming Tape is Damage-Free
Even no-drill home automation devices may affect paint in case of improper mounting method. The behavior of adhesives depends on whether you have plaster painted, wallpaper, textures, or wet walls.
It is better to mount the device in a place where there is a stable shelf or table available. For the adhesive mounting, follow all restrictions, limitations, and instructions regarding mounting surface and removal process.
Do not use loose paint or inappropriate fresh paint for mounting. Make sure that removal tabs are accessible, and do not think that adhesive, provided along with the device, will be easy to remove.
Make sure that wires do not create any obstacles or potential trip hazards and will not interfere with doorways. Any heavy device over the bed or seat area should be mounted properly.
Build a Practical Starter Setup for a Rented Apartment
There is no necessity of automating all rooms. You can start by installing just one smart bulb or smart plugs for lamps. The use of wireless buttons and sensors should come as a solution to a particular issue.
For a bedroom and living-room setup, consider:
Area | Portable option | Everyday use |
Bedroom | Compatible smart bulb in your lamp | Bedtime dimming or scheduled lighting |
Living room | Suitable smart plug for a lamp | Evening on/off schedule |
AC area | Compatible tabletop IR controller | Remote commands without rewiring |
Entrance | Compatible contact sensor | Door-open notification |
Treat this as a planning example, not a universal shopping list. Add any required hub to the budget, along with batteries, mounting accessories and optional subscriptions. Start small and expand after testing.
Create Simple Routines You Will Actually Use
Bedtime Lighting
Make use of an app scene or a compatible bedside button for dimming the bedroom lighting and turning off the living room light. Begin with a manually triggered scene such that your process still accommodates those days that you stay up very late at night.
Entryway Light After Dark
In case your system is able to allow, use a door open event in combination with either the time or the light level to ensure that the entrance light only comes on when it is needed instead of whenever the door opens. Set an appropriate timeout and ensure that there is also manual control.
Leaving-Home Check
Establish a scene to turn off selected lights and compatible devices. Examine each device connected before adding it to the scene. Leave your router and your hub powered to ensure continuous monitoring and remote access.
While automation will help reduce unnecessary running time, electricity saving is dependent on the device and your previous usage practices.
Test Connectivity, Outages and Manual Control
Before any expansion, verify Wi-Fi connectivity at all device locations. While most Wi-Fi enabled devices require 2.4 GHz, there are exceptions. All Matter-compatible Zigbee sensors require compatible hub and controller with appropriate connection technology.
Assume that all functions of a specific hub will be offered by every smart speaker; verify the specific make and capabilities.
Verify the actions taken when internet goes down while local network stays up and verify recovery from a power outage. Certain actions will be done locally while some depend on cloud.
Use secure password, turn on additional account protections and install firmware update. For cameras, agree with family members about location and verify settings for recording, storing, and subscription services.
How Innexia Can Help You Plan the Setup
Innexia offers smart home automation solutions and lists components such as a hub, sensors, controllers and relay switches. Its smart home automation solutions in Ahmedabad provide a starting point for discussing your flat’s requirements.
Explain that you need home automation without rewiring or drilling. Ask which proposed devices are portable, how they connect, and which need electrical installation or landlord approval.
You can also review Innexia’s home automation components before the conversation. Request a written device list that includes mounting, power, compatibility and removal requirements.